Contents: #
- How To Sign Up for A New Blockchain Account
- How to Verify Your Identity
- Sending Cryptocurrency
- Receiving Cryptocurrency
- Security
- Borrow
- Swap
- Earn Interest
1. How To Sign Up for A New Blockchain Account #
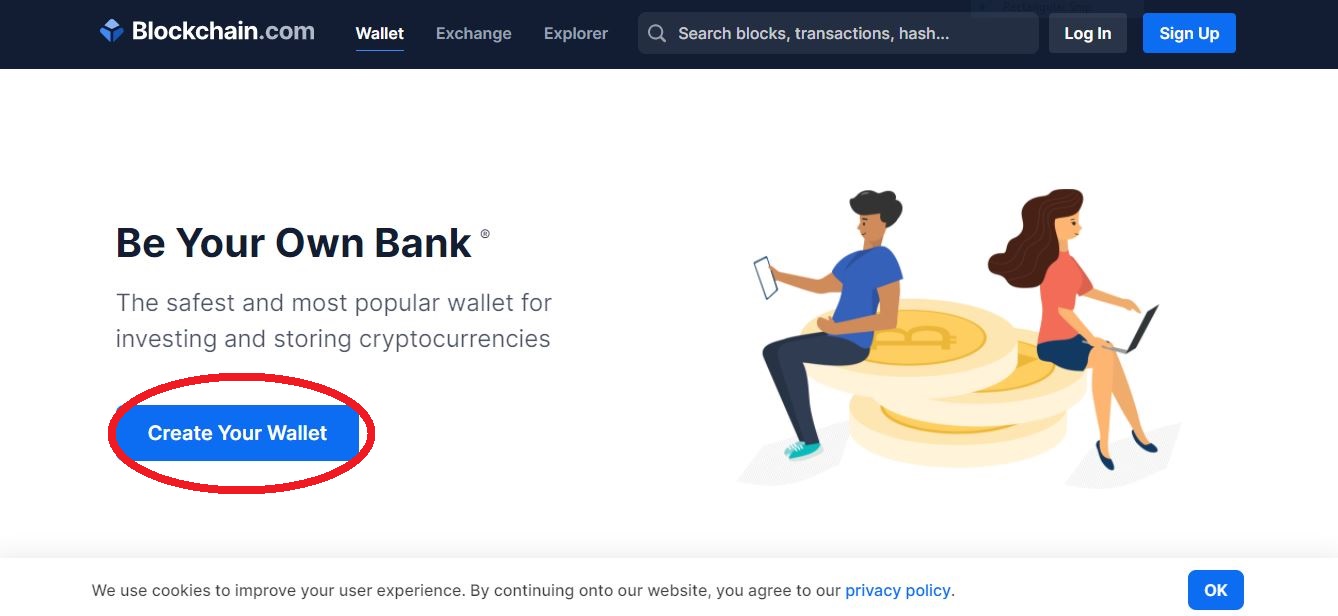
1.1 Open the Blockchain wallet website and select ‘Create Your Wallet’:
1.2 Fill in ‘Your Email’, ‘Password’, ‘Confirm Password’ and select ‘Create Wallet’:

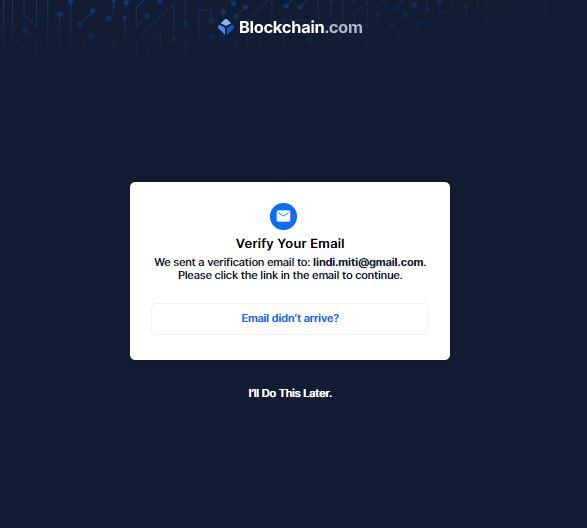
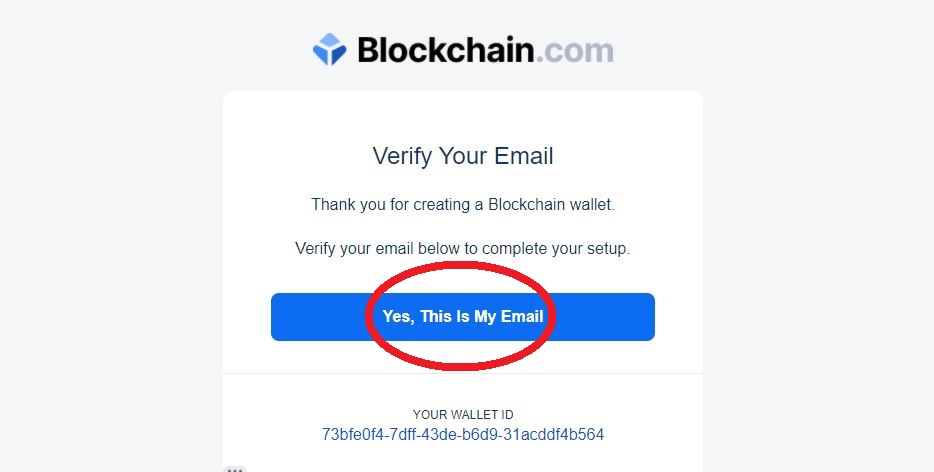
1.3 Log into your email to verify your email by selecting ‘Yes, This Is My Email’:
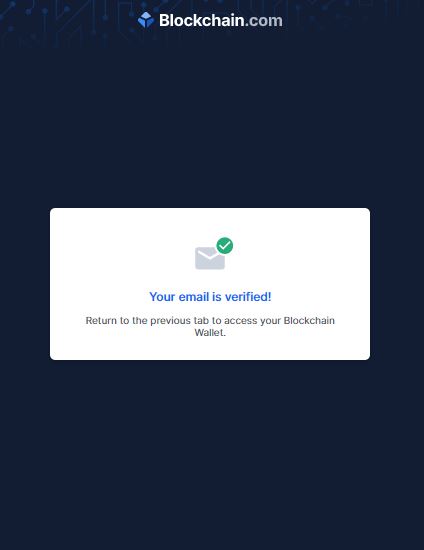
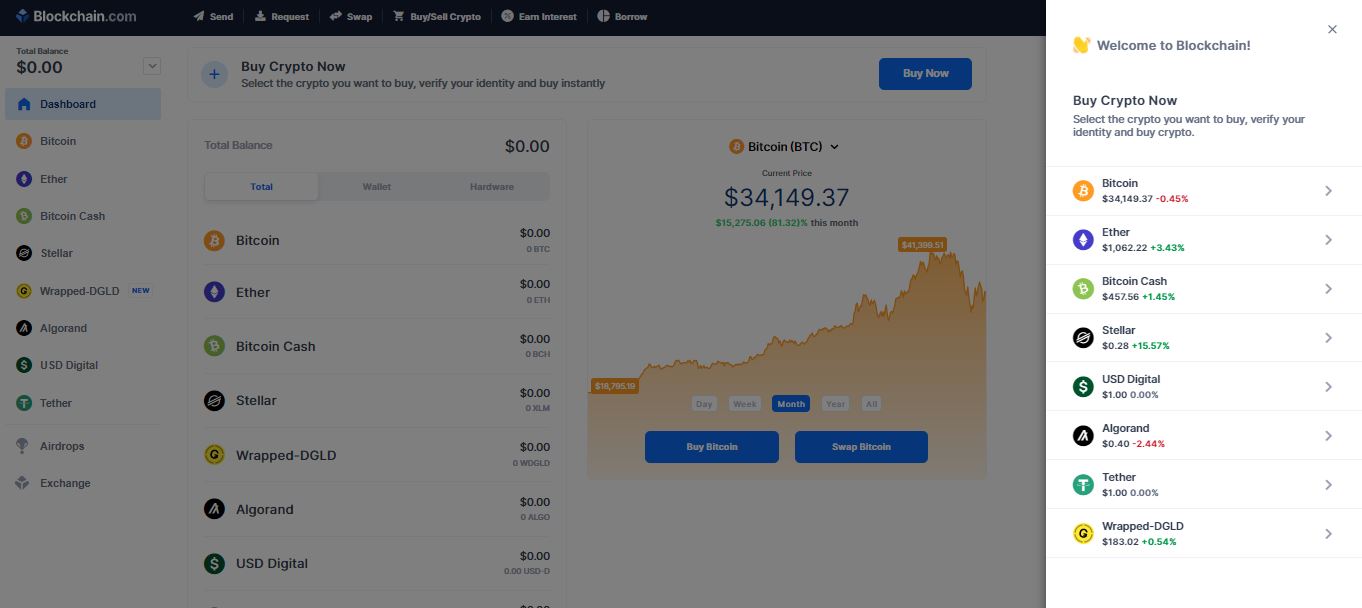
1.4 Return to your previous tab to access your Blockchain Wallet Dashboard:
Note: You can also download the mobile app for IOS and Android to access your wallet conveniently.
2. How to Verify Your Identity #
To verify your Blockchain Wallet account successfully, you will need the following:
- Mobile Device
- Email Address
- Document of identification
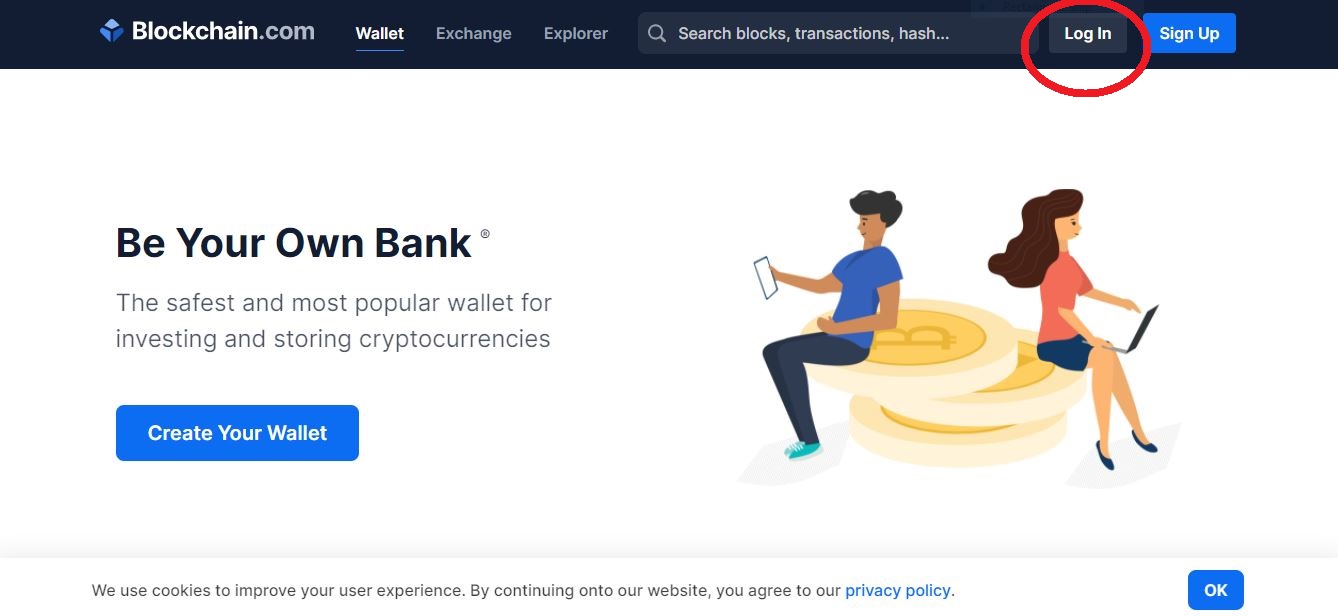
2.1 Open the Blockchain wallet website and select ‘Login’:
2.2 Fill in your ‘Wallet ID’, ‘Password’ and select ‘Log In’:
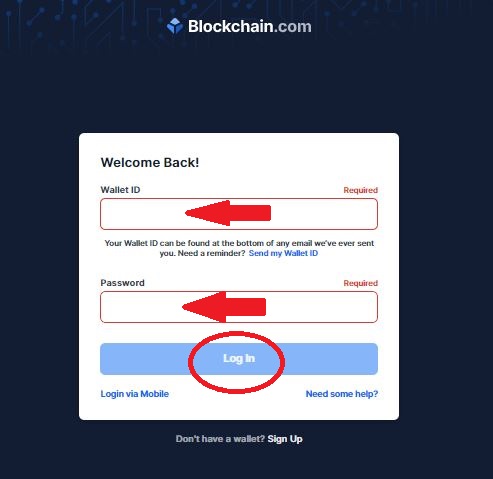
Note: Your Wallet ID can be found at the bottom of any email sent to you by Blockchain.com.
2.3 On the Dashboard select ‘Continue’ to finish signing up:

2.4 On the pop-up, fill in your residential address and select ‘Next’:

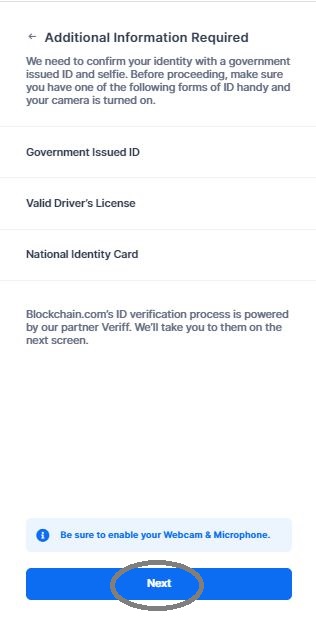
2.5 Have your ID document ready, enable your web camera and select ‘Next’:
2.6 Choose between ‘Scanning the QR code’ or ‘Sending link via SMS’:


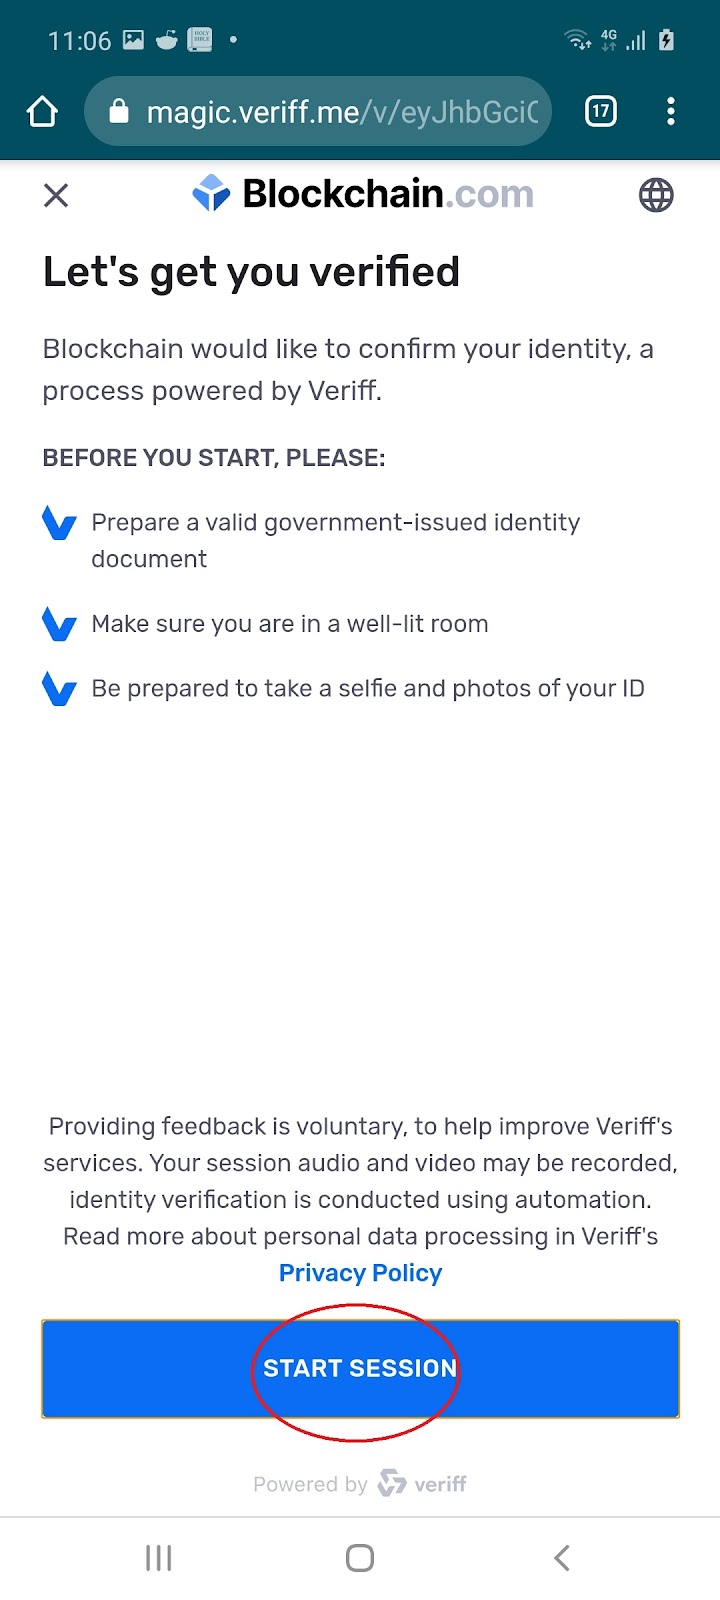
2.7 If you selected the SMS option, open the link sent to your mobile device and select ‘Start Session’:

2.8 Select the country that issued your ID and select ‘Continue’:

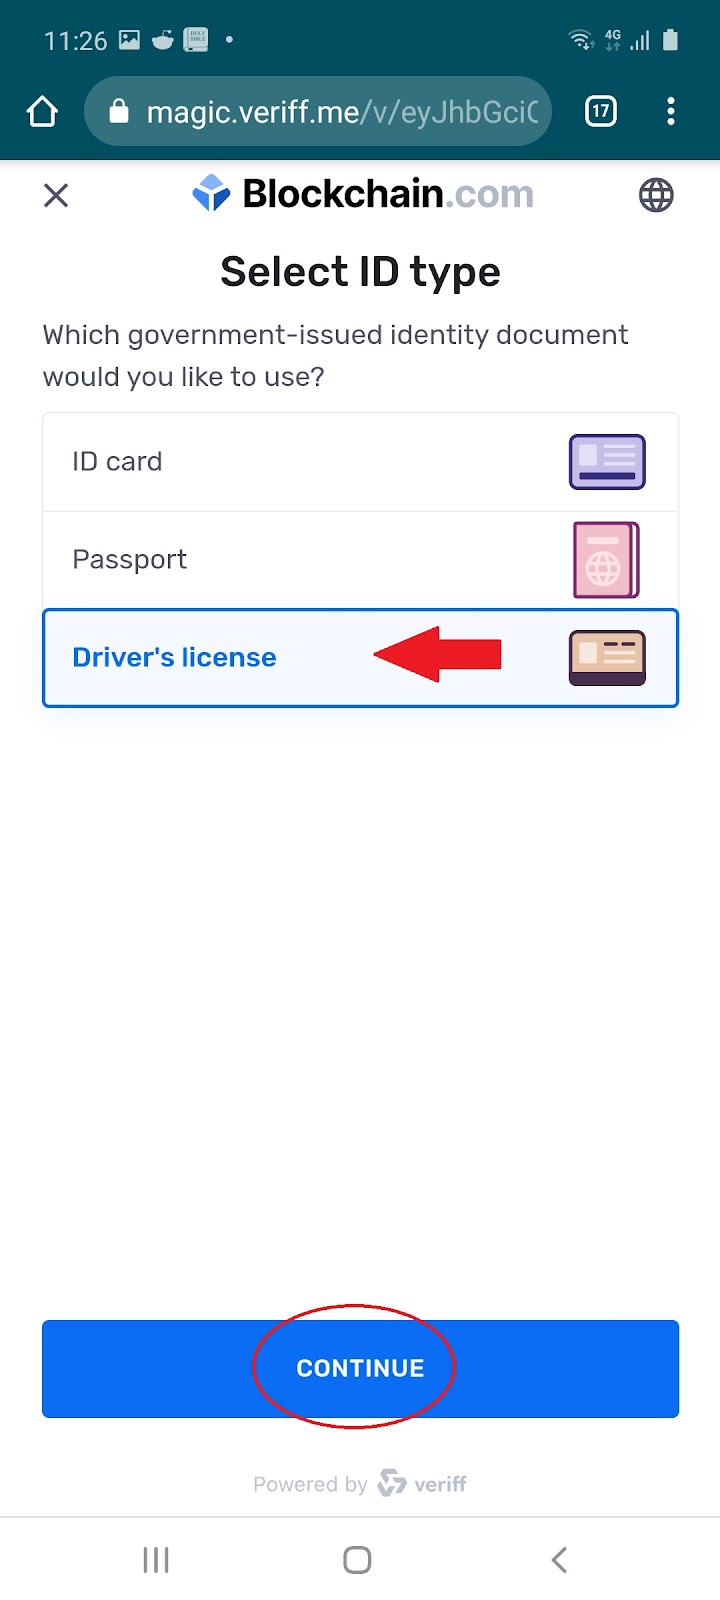
2.9 Choose the ID type and select ‘Continue’:
2.10 You’ll be prompted to take photos of your ID type, a selfie and the following will appear:
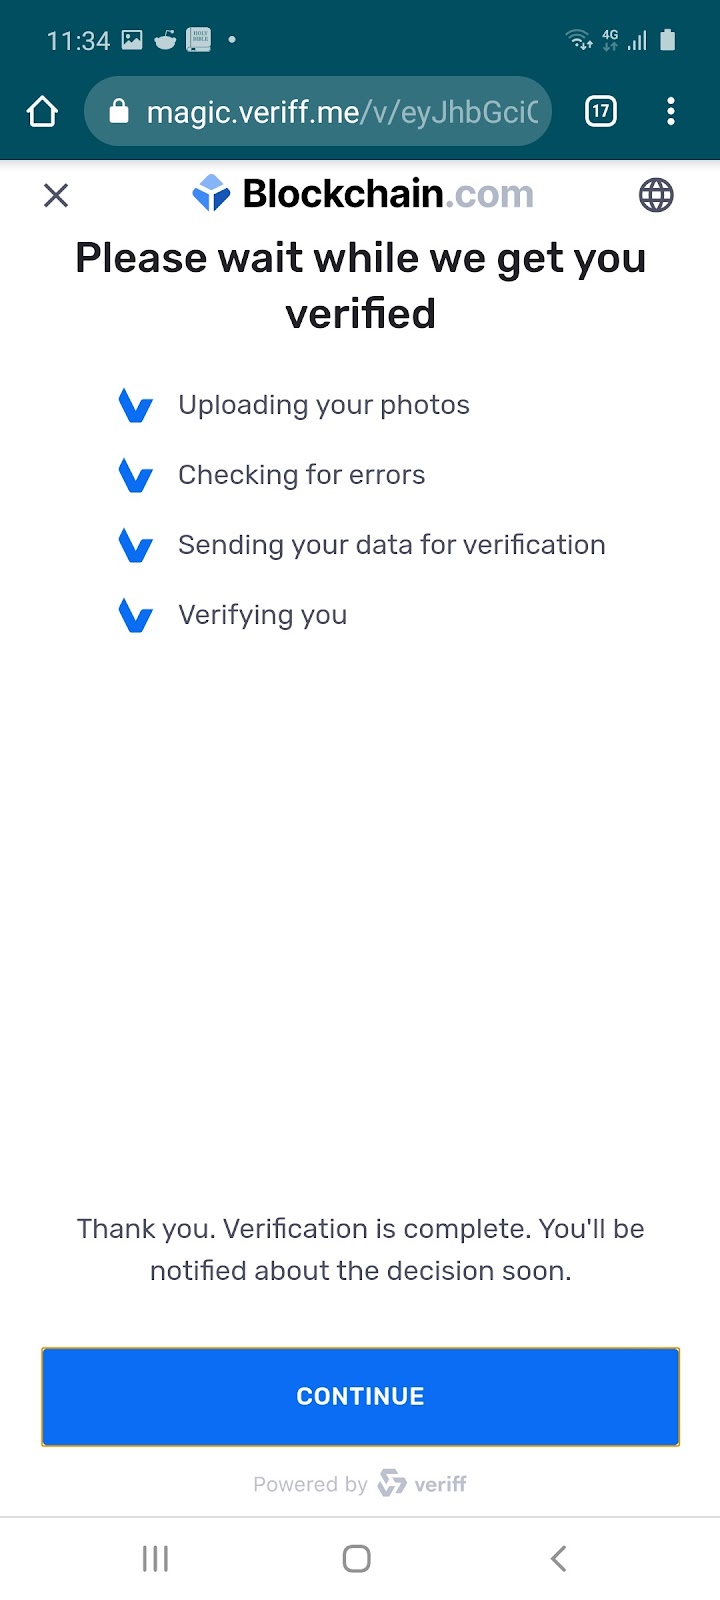
Note: Make sure you take high quality images. Verifying your identity will enable you to buy and sell cryptocurrency on the Blockchain exchange.
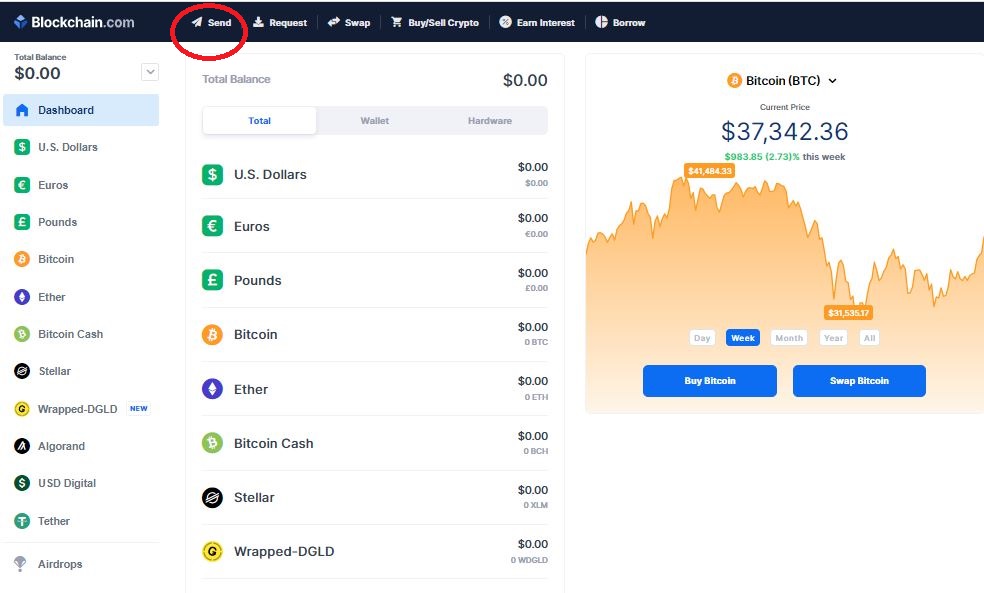
3. Sending Cryptocurrency #
3.1 On the Dashboard select the ‘Send’ icon:
3.2 Choose the ‘Currency’, fill in the ‘Receive Address’, the ‘Amount’ and select ‘Continue’:
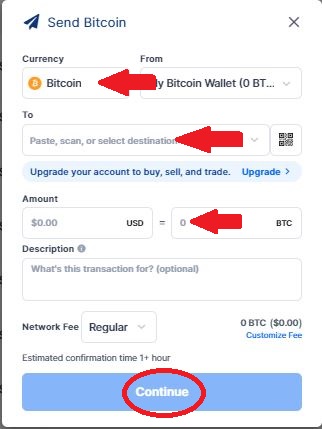
Note: A network fee will be charged and you will be required to verify your transaction. Learn more about how Blockchain.com’s fee recommendations work.
4. Receiving Cryptocurrency #
4.1 On the Dashboard select the ‘Request’ icon:

4.2 Choose the ‘Currency’, the ‘Receive address’ and select ‘Done’:

Note: You can choose to receive your cryptocurrency by scanning or via copying your unique address. You can also create a sharable request link.
5. Security #
5.1 On the Dashboard select ‘Security’:

A. To enable two-factor authentication select the ‘Enable’ tab and follow the instructions:

Choose between Google Authenticate, Yubikey or SMS to secure your wallet:

Note: We recommend Google Authenticator because it is more secure than SMS due to being offline and local to your device. If you have a Yubikey, you can use it to ensure secure One-Time-Password logins into your wallet. If you do not have a smartphone, you can opt to have your OTP codes sent to your mobile phone by SMS. For step-by-step instructions please refer to Blockchain Support.
B. To make a backup of your wallet, select ‘Enable’: #

Select ‘Backup Now’ and follow the instructions:
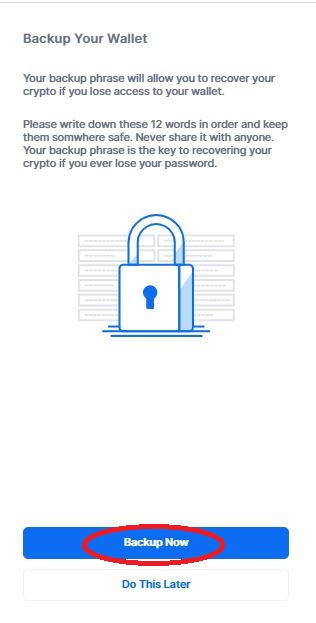
Note: You will be provided with 12 words that make up your phrase. Please ensure you write down the words in the same numerical order. The last step requires you to verify a random selection of the words in your phrase. Misspelled or misplaced words will result in lost funds.
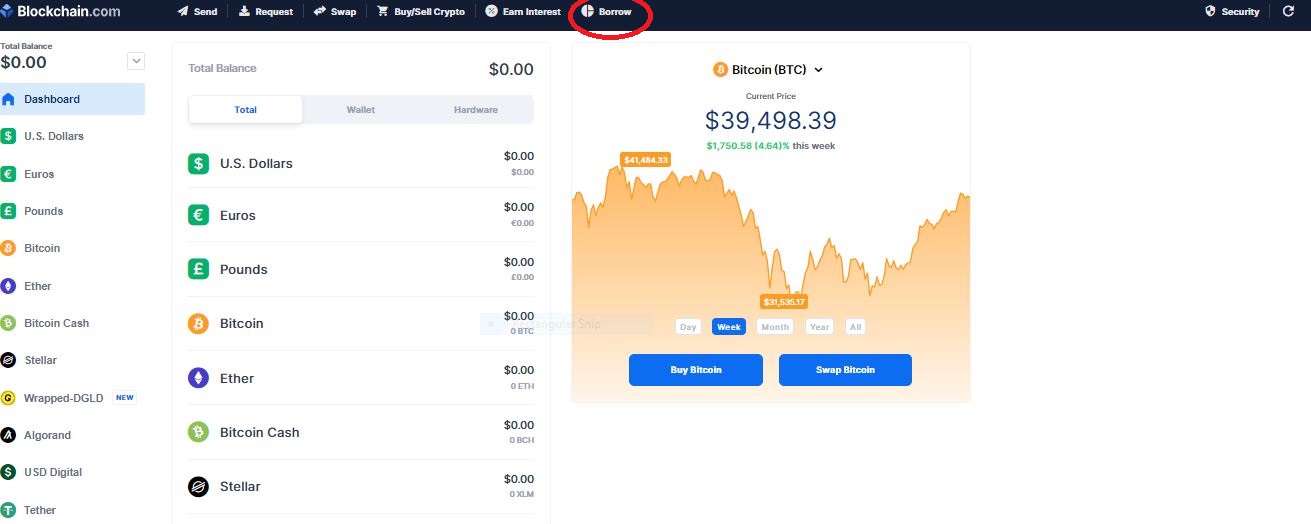
6. Borrow #
6.1 On the Dashboard select ‘Borrow’:
6.2 Input the amount of USD Digital you want to borrow and select ‘Borrow USD Digital’:

Note: You need to to be Gold Verified and in an eligible region to take advantage of this feature. To find out more about how it works, click here.
7. Swap #
7.1 On the Dashboard select ‘Swap’:

7.2 Choose the ‘Swap from’ and the ‘Receive to’ wallet and select ‘Continue’:

Note: Swapping from your Trading Wallet provides faster settlement and no network fees. To learn more about using Swap with your Wallet or Trading Wallet click here.
8. Earn Interest #
8.1 On the Dashboard select ‘Earn Interest’:

8.2 You will be redirected to your Interest Account page and follow the instructions to completion:

Note: Earning interest on your crypto is available to Gold Level users only (full requirements here).